How to Change Your Business Hours/Access Schedules
Rhōmb products are linked to specific access schedules through Access Control Groups, which are assigned within each product’s setup and integrated with your Brivo account. When a customer purchases a product in Rhōmb, their access credential can be used during the schedule tied to that access control group in Brivo. If you need to change the access schedule for a product, you’ll do so by updating the associated access control group in Brivo.
When you receive your Rhōmb site, we configure your access control groups and schedules based on the business hours you provided in the project kickoff form. If you need to change your hours of operation or a specific product’s access schedule after setup, follow the steps below:
Step 1: Log into Brivo Access
-
Open your browser and go to Brivo Access.
-
Enter your login credentials.
Step 2: Create or Modify an Access Schedule
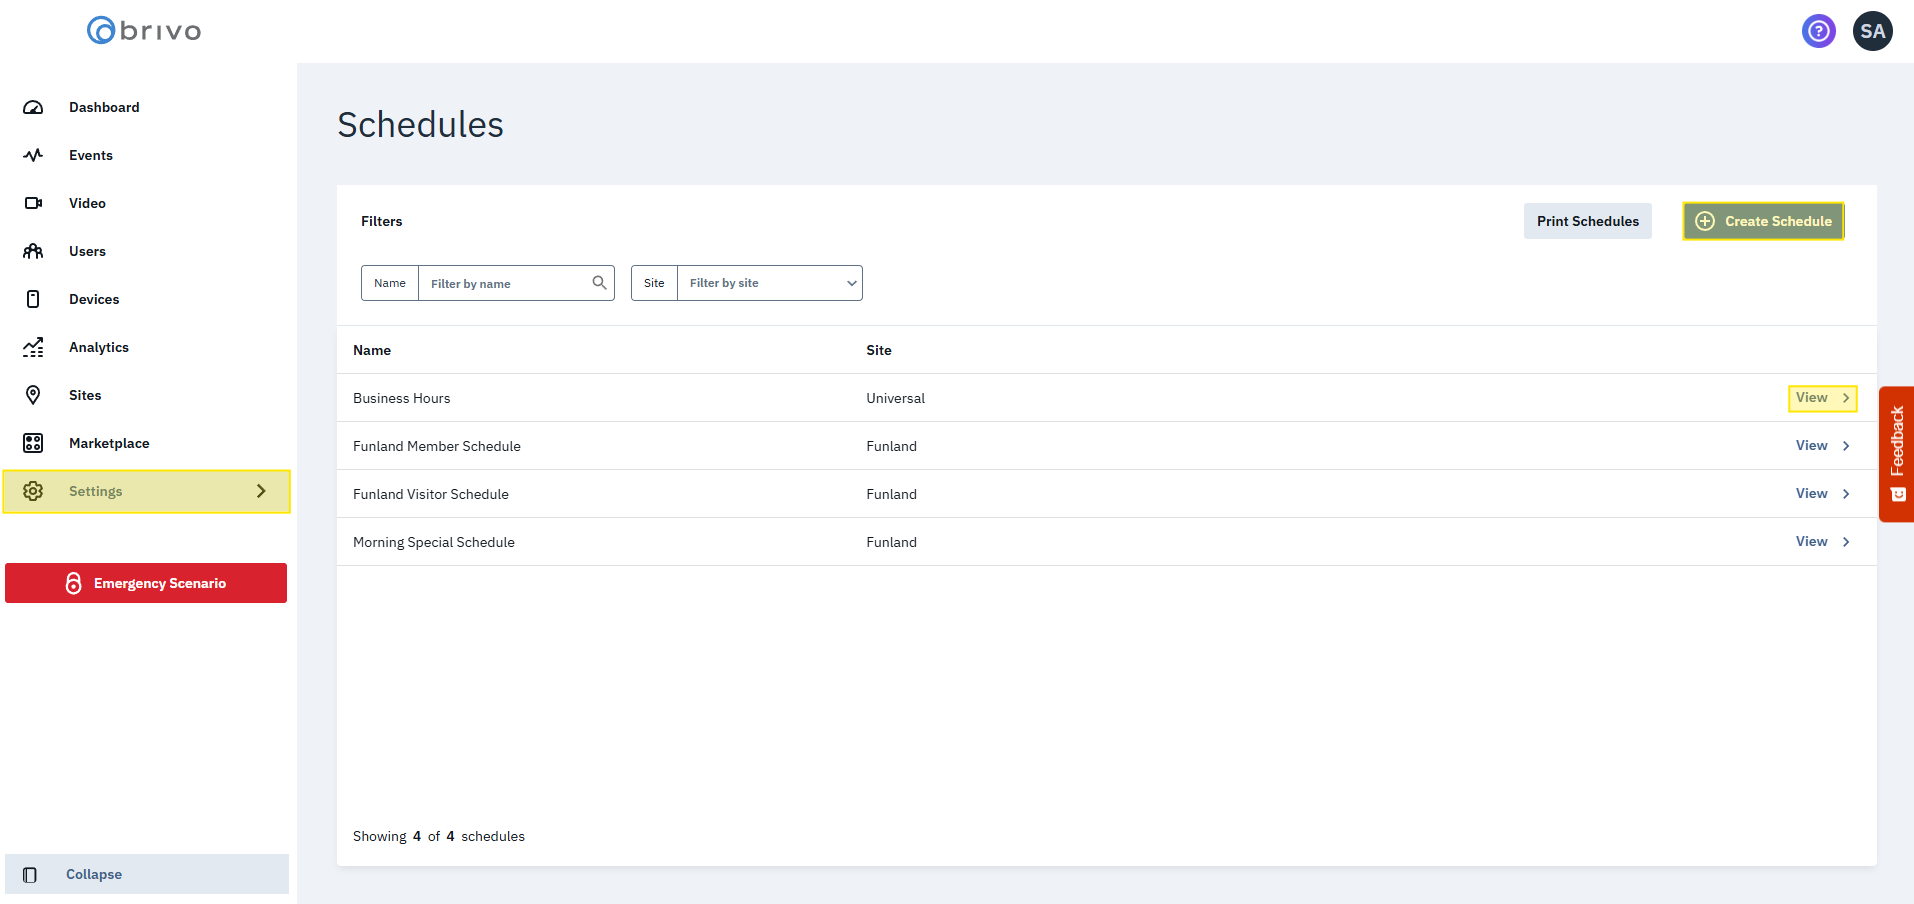
Within Brivo, navigate to Settings → Schedules.
-
Click New Schedule to create a new schedule, or click View to update an an existing schedule (ex. Business Hours)
-
If you're creating a new schedule, name your schedule (e.g., “Evening Access (6PM-9PM M-F)”).
-
Choose a site, or select Universal to apply it across all.
Use the schedule grid to define access times:
-
Click and drag to create time blocks.
-
Adjust start/end times manually as needed.
-
Use Copy to apply settings to other days.
-
Leave Enabling Group, Grace Period, and Holidays fields unchanged.
-
Click Save.
You can also create Schedule Exceptions for temporary changes.
Step 3: Create or Edit an Access Control Group
An Access Control Group is a set of users with the same access privileges. In Rhōmb, these groups are used to link your products to specific access schedules.
In Brivo Access, go to Users → Groups.
-
Click + Create New Group.
-
Enter a name (e.g., “Evening Members (6PM-9PM M-F)”) and click Create Group.
Select All Devices, then configure device access:
-
Click Save.
Step 4: Associate the New Group to Your Rhōmb Product
Once you've created a new access control group, you can link the new access control group to your product(s) in Rhōmb.
- Log back into your Rhōmb site.
- Go to Products and click on create your product.
- Within the Access Control setting of your product in Rhōmb, find and assign the updated access control group to the product.
- Once updated, access credentials delivered upon the purchase of that product will follow the permissions and schedule of the new group.